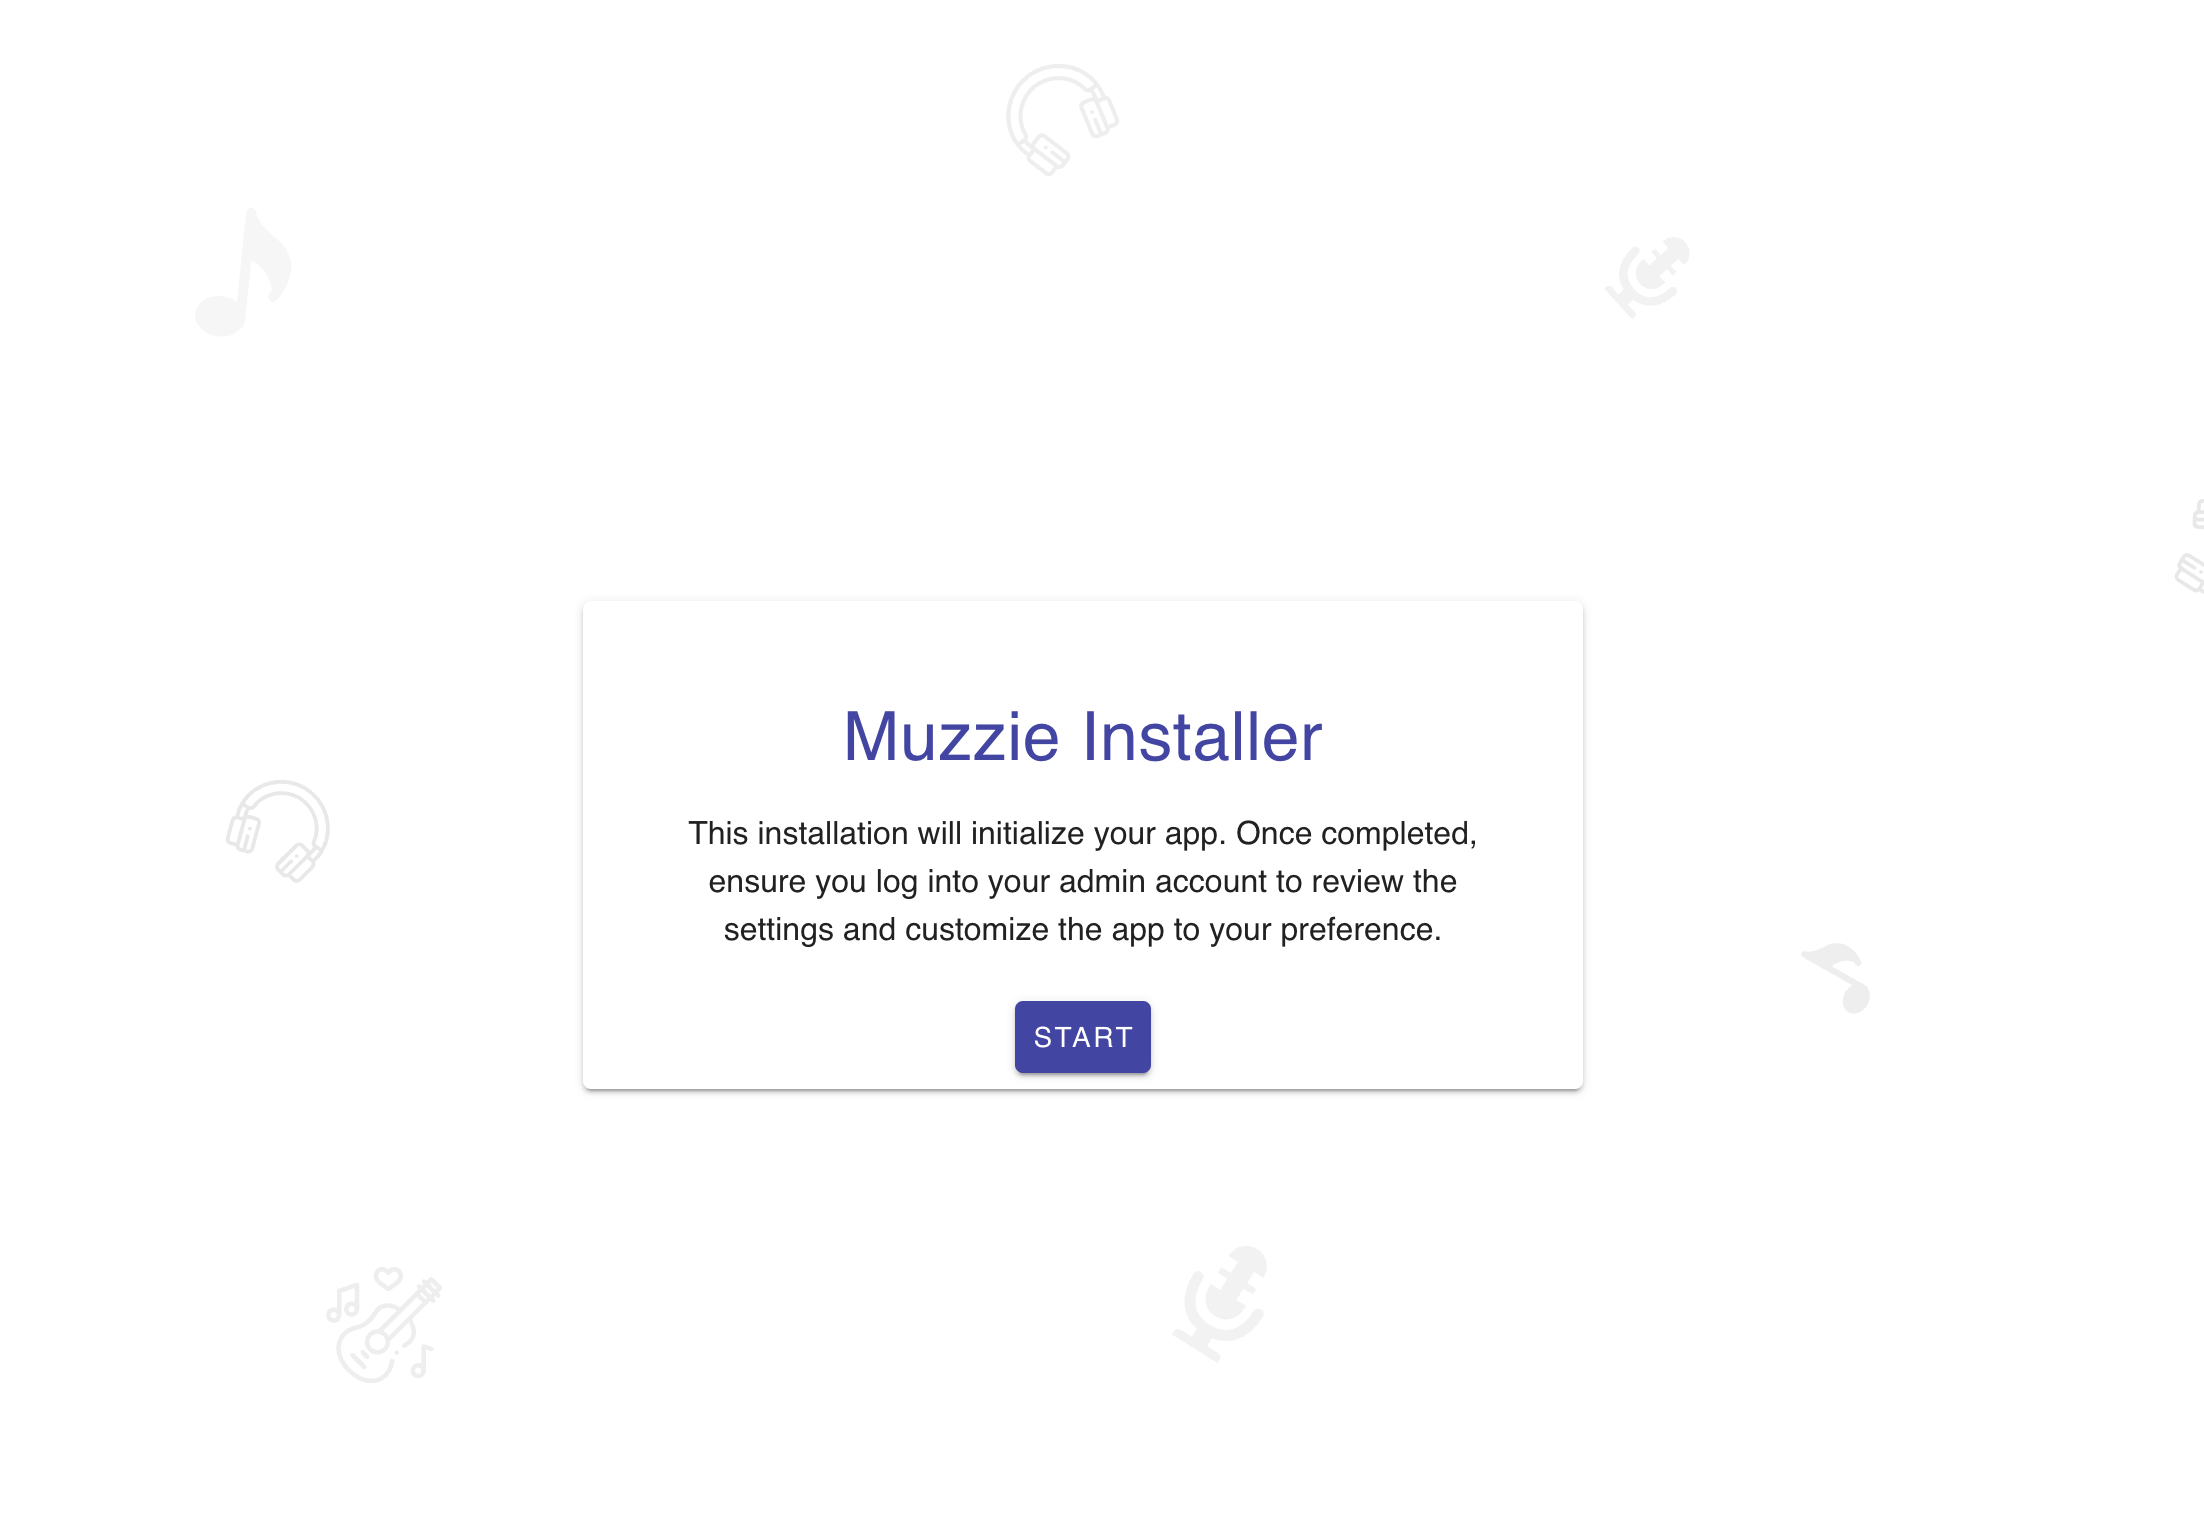
# Installation
# Recommendations
You will see how to deploy your app in different environments.
The cheaper option is Shared Web Hosting, it is recommended if:
- You are using the app for personal use only or for few members.
- You are not planning to have a lot of users visiting at one moment.
- Performance is not your biggest concern.
However, it is advisable and recommended to use a VPS server over Shared Hosting if:
- You want to start a big project hosting a lot of users.
- Performance of the application is very important.
- You want more control over your machine resources & Software.
( VPS hosting vs Shared hosting (opens new window)).
# For CPanel & Web Hosting
The process if very easy, you just have to:
# 1. Upload & extract your zip file
Using your file manager, go to your public_html, Upload your zip file there and extract it.

# 2. Check your domain
Now your app should be running at your domain. You should get an installer to help you configure your app and lunch it, if you do not see the installer jump to here
# 3. Follow installation steps
On the first step you will find the requirements of the application, make sure everything is valid

The next step is the permissions,permission are important to allow your server to perform certain operations, like creating files and reading them. Usually permissions are already configured for you out of the box, but sometimes they are not, make sure all permissions are correct

After that you will need to fill the following form, start by adding your purchase code, and then your app name and url, and finally the database credentials that your app should use:

If everything is correct, you will move to this next step. Make sure to select the options you prefer, some options might not be changeable later

Afterward, simply select your admin account credentials

When you click on the next button the installation should start, this usually takes a maximum of 1 minute to finish,
however this somehow related to your machine capabilities

When the installation is finished successfully you should see this notification

# Can not see the installer?
# Common reasons
# For Apache users: Missing .htaccess file
Make sure the .htaccess file exists within the root directory. .htaccess is a file that tell Apache which file is the index of your app and to redirect if necessary. For that it is important that the file exists on the root directory, we noticed that Cpanel by default hide the files which start with a dot "." to disable that you will need to adjust the File Manager's settings, here is how you do it:

and then:
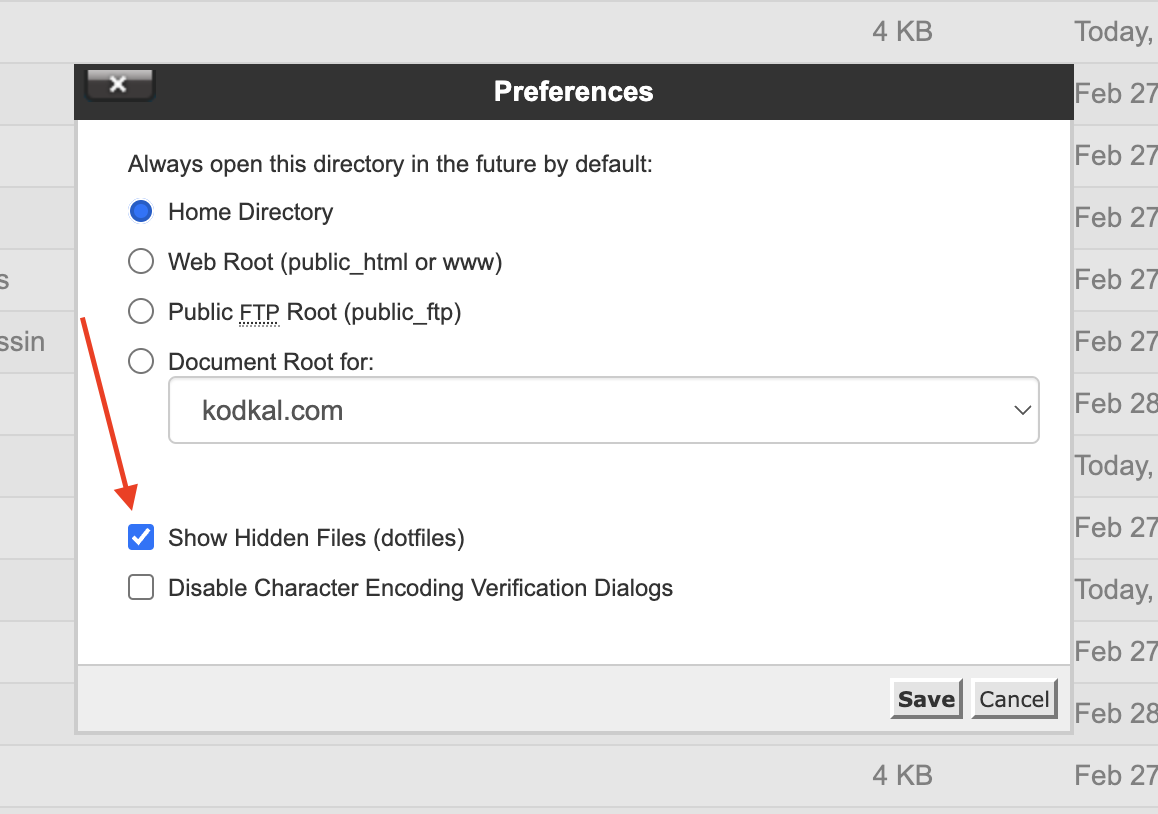
After you show the hidden files and you do not see the .htaccess file within the root of your script files that means you will need to upload it again.
# Installation on a VPS machine
You can install Muzzie on any server machine.
The following installation is applied on an empty VPS machine with the operating system Ubuntu Server 22.04 LTS.
# 1. Set up the environment
1.1 Update libraries
sudo apt-get update -y
1.2 Install Apache
sudo apt install apache2 -y
1.3 Install PHP & required extensions
sudo apt-get install -y php8.3 php-common php-curl php-mbstring php-mysql php-xml
1.4 (OPTIONAL) Install PHP GD extension if you want to optimize images uploaded to your server you will need the PHP GD extension
sudo apt-get install -y php-gd
1.5 Install MariaDB database server
If you are not planning to use an external database, you will need to install it on your machine
sudo apt install -y mariadb-server
configure your database and your root account password, by invoking the command:
sudo mysql_secure_installation
Connect to you database ser
sudo mariadb -u root -p
and then create a database with your name of choice:
CREATE DATABASE exampledb;
# 2. Upload your app
2.1 Upload your Muzzie folder to your server
You can use either an FTP (or SFTP) client, or you can use git (much faster).
Please upload your files inside the directory /var/www. This directory is typically and by default used by servers like Apache.
2.2 Grant permissions to the project folder
Assuming here that your project folder is called muzzie
sudo chown -R www-data:www-data /var/www/muzzie
# 3. Apache Configuration
Now we need to configure the Apache Server
3.1 Remove older configuration file
sudo rm /etc/apache2/sites-available/000-default.conf
3.2 Open the configuration file
sudo nano /etc/apache2/sites-available/000-default.conf
3.3 Paste the following content (again, assuming your project is under the path /var/www/muzzie, if not, please update the path)
<VirtualHost *:80>
    ServerName default
    ServerAlias *
    DocumentRoot /var/www/muzzie/public

    <Directory /var/www/muzzie/public>
        Options -Indexes +FollowSymLinks
        AllowOverride All
        Require all granted

        <IfModule mod_rewrite.c>
            RewriteEngine On

            # Redirect Trailing Slashes...
            RewriteRule ^(.*)/$ /$1 [L,R=301]

            # Handle Front Controller...
            RewriteCond %{REQUEST_FILENAME} !-d
            RewriteCond %{REQUEST_FILENAME} !-f
            RewriteRule ^ index.php [L]
        </IfModule>
    </Directory>

    ErrorLog ${APACHE_LOG_DIR}/muzzie_error.log
    CustomLog ${APACHE_LOG_DIR}/muzzie_access.log combined
</VirtualHost>
# 4. Increasing the Maximum Upload Size
By default, PHP limits the size of files you can upload to 2MB, which might not be enough for your needs. To help you easily increase this limit, we've created a script named increase_max_upload.sh. This script works for both Apache and Nginx servers, ensuring that no matter what setup you have, you can increase your upload limit with ease.
Running the script is straightforward:
- This will set your maximum upload size to 100MB, which suits most needs, but feel free to change it.
sudo sh ./increase_max_upload.sh
- If you want to set a specific limit, like 200MB, you can easily do that by adding a number after the script name.
- In the terminal, type:
sudo sh ./increase_max_upload.sh 200M
- Replace
200Mwith whatever limit you need.
# 4. Lunch your server
Activate the mod_rewrite module with
sudo a2enmod rewrite
and restart the apache
sudo service apache2 restart
# If you want to use free SSL? follow this guide (opens new window)
# Finally
Check the URL of your app. by the moment, the app should be deployed and ready to be installed.
The integrated installer will take care of the rest (the installer should appear when you visit the base URL of your app).
# Install FFMPEG (optional)
FFMPEG is a versatile tool for handling video and audio files, allowing you to convert, and stream multimedia content. It's useful for converting videos to MP3 and for generating wave forms
To install FFMPEG:
 sudo apt update
 sudo apt install ffmpeg -y
After installation, you can check that FFMPEG is correctly installed by running:
 whereis ffmpeg
 whereis ffprobe
These commands display the current path of FFMPEG, confirming the installation. Use this path on your app settings to enable FFMPEG.
# Install YoutubeDL (optional)
YoutubeDL is a command-line utility for downloading videos from YouTube and other video platforms.
If pip is not already installed on your system, you can install it by:
 sudo apt update
 sudo apt install python3-pip -y
Then, install YoutubeDL using pip:
sudo pip3 install youtube-dl
To verify the installation, check the version of YoutubeDL:
whereis youtube-dl
This command display the current path of YoutubeDL, confirming the installation. Use this path on your app settings to enable YoutubeDL.
# Installation on a Local Machine
To install your app on various local environments, follow these steps:
# 1. Extract Your Zip File
Unzip your file into your server directory.
# 2. Create a Database
Create a database for Muzzie using your server's control panel, phpMyAdmin, or another program you prefer.
# 3. Start Your Server
# If Not Using a Server Application (e.g., Xampp, Wamp, Laragon)
a. Open your command line.
b. Navigate to your app's directory.
c. Use the following command to start the server:
php artisan serve
# If Using a Server Application (e.g., Xampp, Wamp, Laragon)
a. Ensure your app's folder is located in the correct directory for your server application.
a. Make sure your app folder is in the right place ( each server program has its serving directory )
WARNING
You must configure your web server's document or web root to point to the public directory of your app. If you're unsure how to do this, look for online guides specific to your server software.
b. Start your server application.
# 3. Check your website
Navigate to your website's address. You should see an installation wizard. Follow the simple steps provided, and your app will be ready to use.